Need more info or you couldn't find what you were looking for, let us know by sending an email to: support@dancik.com.
Up to this point, the Open AR file has not been affected. Only after option 3 is completed will the system be affected. Option 1 created a temporary transaction file. Option 2 edited and approved the transaction file. This program adds the transaction file records to the Open AR file and update various sales records and statistics. It also adds the transaction files records to the AR Daily Transaction file.
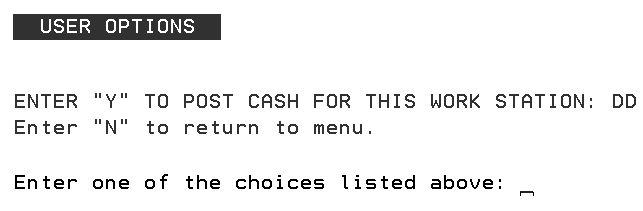
1. From the Accounts Receivable screen, enter option 3 - Post Cash. The Cash Posting options screen appears.
2. Enter Y to post cash receipts for the current workstation.
The program prevents posting if you go back to Enter Cash (AR Main menu option 1) and attempt to post without rerunning the edit. After you go into Enter Cash, the system nullifies any previous edits, ensuring posting cash always follows editing cash.
Note: This program only post your entries if the edit was error-free and all checks are in balance. If your edit was not error free, the system issues a message informing you the computer cannot post at this time.
Note: You must edit and post on the same terminal on which you entered the cash.
When the Accounts Receivables menu reappears, posting is complete. New AR cash receipts now appear on inquiry screens. You can go to the AR Ledger screen (option 16) to see the effect of your entries.
Your entries appear in the AR History screen (option 17) and report after Night Jobs are run, or after the AR Balance Report (option 9) and Update AR Balance (option 10) are run.
Navigator - Auto Posting a Check
how Do I Delete Unposted Cash?
Can I post AR Transactions Without Using the Invoicing Program?