|
Need more info or you couldn't find what you were looking for, let us know by sending an email to: support@dancik.com.
Navigator Retail Customer File
Retail customers may be used with generic accounts (such as “Cash Sales”) or in conjunction with other “referral” accounts such as builders, designers, and contractors. The Retail Customer File may be maintained from the File Management application, or from the Navigator Order Management application as new retail customers are encountered.
Note: The use of this file is controlled by the System-Wide setting - Retail Customer File Options and by settings for Customer Types in the Classification Codes File.
Although the Retail Customer File is primarily designed to manage a database of consumers, it may be effectively used to manage all of the following applications:
Independent installers or contractors that purchase materials under generic accounts such as “Contractor Sales”
Independent installers or sub-contractors that purchase materials under a contracting company’s account
Homeowners that purchase under a builder’s account
Consumers that purchase under a designer’s account
Consumers that purchase under any type of referral account that may need to accrue referral fees, rebates, or commissions.
Retail Sales to consumers using generic accounts such as “Retail Sales”
Retail Customer File Maintenance
1. Select Retail Customer from the listing in the left hand frame.
Note: The Retail Customer File can also be automatically displayed from within Order Entry based on system setup options for retail and/or generic account environments.
2. To rearrange the information displayed on the screen, click on a column heading.
3. Click Records and then Create to add records to the file.
|
Note: The system checks for and alerts you to duplicate records. You can decide to create a duplicate record or update an existing one.
Field Name |
Description/Instructions |
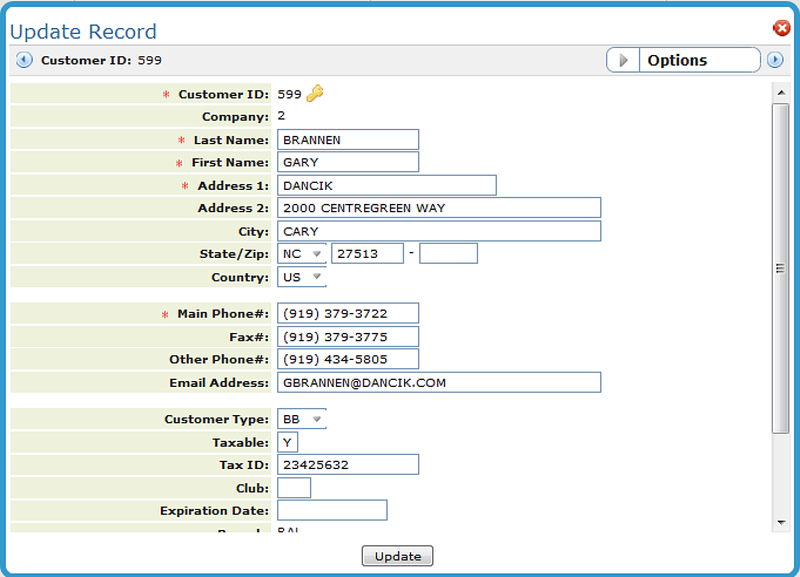
Name & Address |
Enter customer’s name and address. This is the name and address that will appear in the Order Header Screen. |
Phone |
Enter up to two phone numbers and a fax number. By default, the main phone number appears in the Cust PO # field on the Order Header screen. |
Enter customers’ full e-mail address if applicable. |
|
Customer type |
Enter the two-character customer code. For example, enter B1 for a builder or CO for a contractor. Note: Customer Types are created and maintained in the Classification Code File. |
Taxable |
If this customers purchases are taxable enter “Y” in this field. If not enter “N”. If you enter “N”, then also enter a Tax ID number. The default is Y. Note: “Y” is always assumed for all retail accounts. This field is not used by the Order Entry program. |
Tax ID |
Enter the customer’s tax identification number, if the customer is tax exempt. Note: Tax Exemption codes are maintained via the Tax Exemptions by State/Province File Maint - SYS 605 option. |
Club Code |
Use this field to denote a customer’s membership status in a discount or buying club or other type of organization within your company. Enter a user-defined code, defining the club or program. Note: This field does not affect any pricing or other functions for this customer. It is merely to identify membership. |
Expiration date |
The date the customer’s club membership expires. |
The following settings are only displayed if high level access is granted. Refer to Granting High Level Access for more information. |
|
Primary Card or Check |
Designates the credit card or check number that this customer has already used for transactions. This information is automatically stored here by the Cash Register program. |
Type/ Expires |
Defines the primary credit card type and its expiration date. The credit card types are user-defined, but some examples are: MC for MasterCard, DI for Discover, and VI for Visa. |
Secondary Card or Check |
Designates a secondary credit card or check number that this customer has used. This information is automatically stored here by the Cash Register program. |
Other Payment Method |
Other payment methods could include gift cards, rebates, third party credits, or debit card. This field stores any other payment method description that the customer used for at least one previous transaction. |
Pay Method |
Other payment method types used by the customer. This is the payment method type code that goes with the Other Payment Method field. |
High level access can be granted at one of these three levels (listed in hierarchal order):
User
Navigator Class
Globally
Granting High Level Access at the User Level
— Access the Navigator Control Panel (menu option NAV 5)
— Enter a “W” for the appropriate User
— Enter an “A” in the File Management Opt field
— Press F11 to toggle to the High Level Access screen.
— Page down and enter a “Y” for Retail Customer
Granting High Level Access at the Authority Class Level
— Access the Navigator Authority Classes via menu option NAV 2
— Enter a “W” for the appropriate Authority Class
— Enter an “A” in the File Management Opt field
— Press F11 to toggle to the High Level Access screen.
— Page down and enter a “Y” for Retail Customer
— For the global level use menu option NAV 2
Granting High Level Access at the Global Level
— Access the Navigator Global Settings via menu option NAV 1
— Enter a “W” for the appropriate Global defaults
— Enter an “A” in the File Management Opt field
— Press F11 to toggle to the High Level Access screen.
— Page down and enter a “Y” for Retail Customer
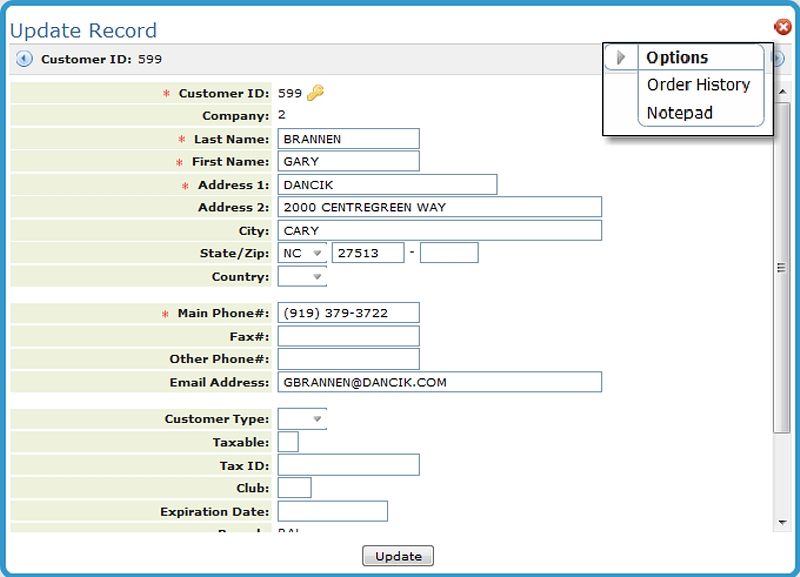
Use these options, in the upper left-hand corner of the Update Record box, to check on the order history of the customer and/or make entries into their notepad.
|
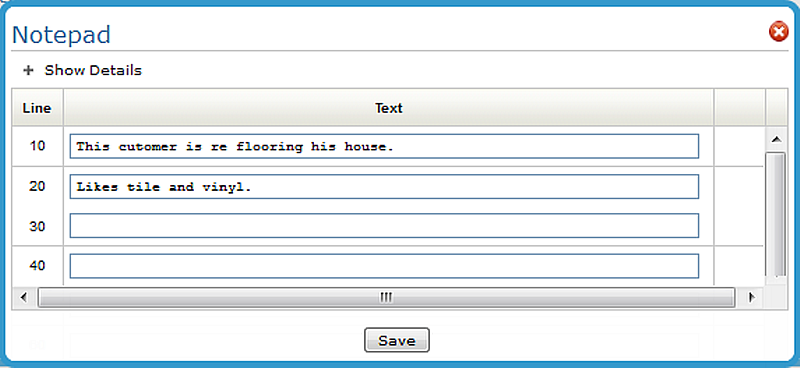
Notepad
Use this option to record information about the customer.
|
Order History
The Retail Customer Order History screen displays all of the orders placed for this customer, including the amount currently open and the amount due.
|
Note: Payment information is gathered automatically from the AR history files and the daily payment screens.
Green Screen Retail Customer File (FIL 60)
Control Panel - SET 1 - Screen 2 - Retail Environment Setting
System Wide Settings - Retail Customer File Options
System Wide Setting - Options for Retail Price Tag/Label
Changing retail accounts that have user defined payment methods