File Management
Converting Information to a Spreadsheet
Workflow
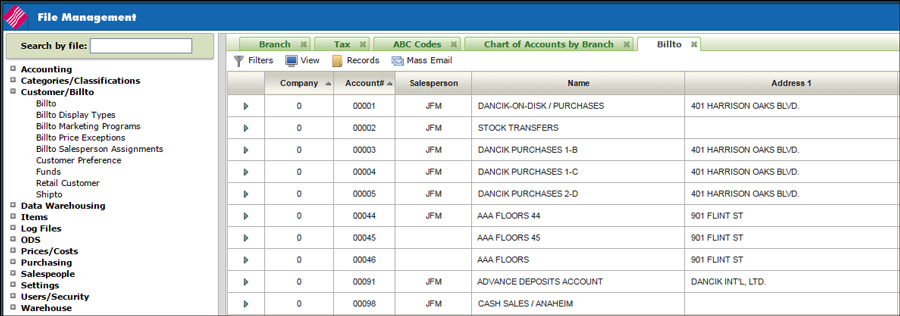
When files are opened in File Management, tabs are created at the top of the screen. These tabs allow for easy access to files when there are multiple files being used.

Filters

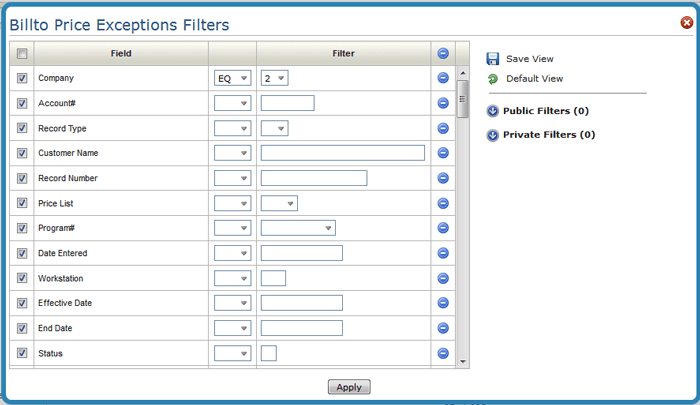
Use the filters to display only the information you want to see. For example, to see records for one company the following setting can be made.

The ability to build and save filters is a major part of the File Management system. Filters created may be saved as either Public or Private, however, only the person who created the filter may edit it.
Use the Save View option to save previously built queries.
Views
Use this option to:
- Save your customized displays.
- Revert back to the system default view.
- Access previously saved views. If the view was saved as a Public View you can access it and then save it as a one of your own so that you may edit it in the future.
Records Tab

Create
Use this option to build new entries.
- Entries with a red * are required.
-
 - Key Field - These fields are mandatory for new records and cannot be changed for existing ones.
Mass Update
This feature enables you to update multiple records at one time. This is a very powerful and potentially dangerous option.
Access to the Mass Update feature has to be granted at the global level (NAV 1), authority class (NAV 2) or user level (NAV 5).
Updating All Records
- Access the Mass Update window through the Records tab.
- Select the information you want to update and enter the values.
Updating Specific Records
- Use the Filters window, accessed via the Display tab, to narrow the scope of the mass update.
- For example, you could use the Filters Window to only display a specific branch and then make a mass update to only that branch.
Converting Information to a Spreadsheet
- Click the spreadsheet icon (
 ) in the right-hand corner of each file's information screen.
 - The Submit to Spreadsheet window appears. Enter a File Name and Description. The system automatically attaches a .xls suffix to the file name so there is no need to include it when the file name is entered. Do not put more than one space in between characters in the file name. If you encounter a situation where you need more than one space between characters in the file name, use an underscore (ex. multiple___spaces).
- The information displayed on the screen is imported into an Excel spreadsheet.
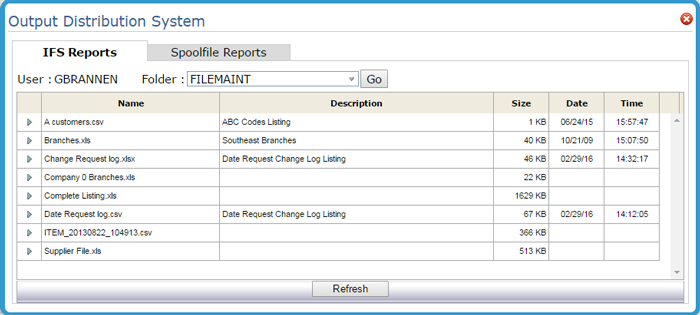
- Click the ODS link in the upper most right-hand corner.
- Click the IFS tab to display the available spreadsheets.
- Select a spreadsheet, to manipulate and distribute as needed.

Options
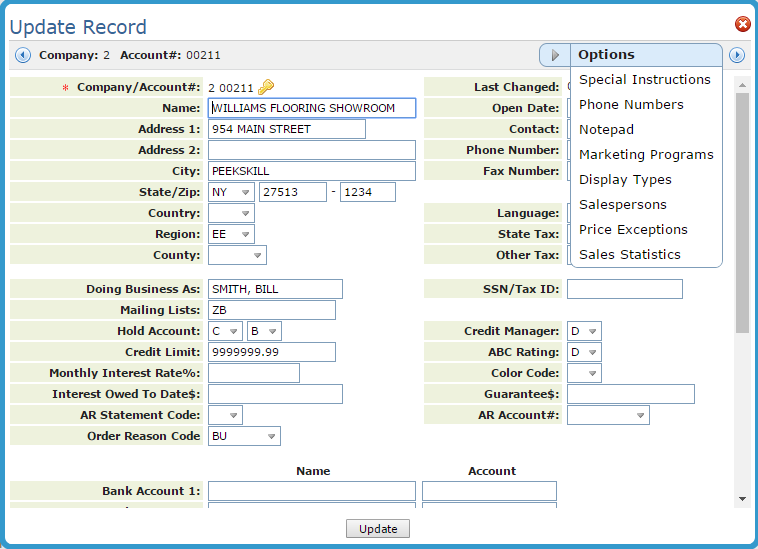
If you are familiar with the Enterprise System (DES) on the iSeries, the Options tab is where we placed the information accessed by the function keys used within the DES.
The additional options are accessed from the Update Record and Display Record windows.

The options displayed vary from file to file.
Table Display
The table can be sorted by any column by simply clicking on the column heading. For example, if you wanted to group your suppliers by state, click the State heading and the table refreshes to show the suppliers in alphabetical order by state.
Aggregate Salesperson Participation Table
Categories and Classifications
Sales Commission by Price Class
Stock to Stock Transfer Reorder Parameters
Supplier Inbound Shipping Preferences Table
