|
Need more info or you couldn't find what you were looking for, let us know by sending an email to: support@dancik.com.
The Inventory Analysis Screen, which is accessed by entering an “I” in the line selection field (L#) of Order Entry or Order Change, shows you how much inventory was selected compared to the requested quantity. A window displays the total quantity requested, the total quantity selected, and then the difference, which is the balance left to select.
Note: This only occurs if a quantity was requested.
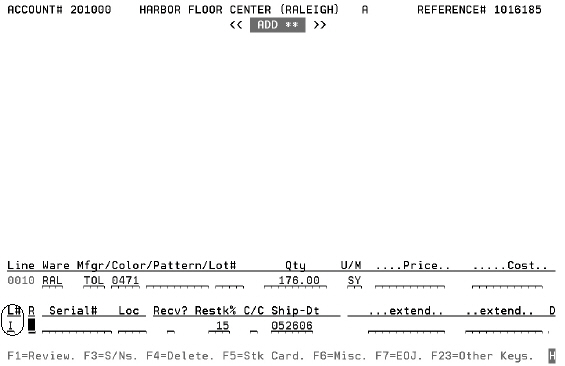
1. To access the Inventory Analysis screen from within Order Entry, enter an “I” in the L# field, along with an item and quantity to order.
|
2. This brings up the Inventory Analysis screen when Enter is pressed.
|
Note: The Stat/Loc field shows the serial number status on all serial number records. Inventory status codes may be user-defined. However, the system supplied codes include: u = unopened roll or bundle, o = open roll or bundle, M = measured Balance, m = measured balance, with one cut made after measuring, # = in suspense, L = lost, I = being inspected.
3. The Inventory Analysis screen can be configured to your sorting specifications by using the Sort Code. You can customize this screen to better fit your business practices. There are eight sorting options for this screen. Depending on your level of system access, you can change your sorting option.
Note: To view a list of the options, enter ? in the Sort Code field. You can specify a default preferred sort code in the CTRLUSER file.
4. Enter a Qty-To-Cut/Order Quantity and U/M in the respective fields and press Enter. In the example above, the items are rolled goods, and entering “R” denotes that you are ordering the full quantity available of the selected rolls.
5. The Confirmation screen appears showing you the serial numbers that can fill the request. As shown below, you can also override the price
|
6. After entering the new price, press Enter. The system accepts the inventory selections and the new price and returns you to the Order Detail screen. Upon review of the order, (press F1 to review the lines placed on the order) you can see that the overridden price is applied to all of the lines created on the previous screen.
|
Example 2
The following example shows a more complex situation in which multiple rolls and a cut are required to fill an order.
Note: This example is also applicable for non-rolled goods with multiple serial numbers or shades.
1. The user has requested 800 SY on the Order Entry screen and specified option “I”. The Inventory Analysis screen appears. The user selects multiple rolls and a cut as shown below.
|
2. The confirmation screen appears.
|
3. The user may now accept these selections, or press F4 to try other combinations.
Associated Files
Related FAQs